
Setting up HTTPS requires many steps; this makes it challenging, especially for inexperienced users. In-depth knowledge of server configuration and encryption is needed to set it up. The steps and components required to switch from HTTP to HTTPS will be introduced to you in this guide.
Common Terms You Need to Know
To switch from HTTP to HTTPS, you need to understand some terms. Some of these terms, which you must understand, are given below.
Hypertext Transfer Protocol (HTTP):
This is the foundation of online communication. It explains how information is interchanged between a server and a browser.
Hypertext Transfer Protocol Secure (HTTPS):
This is a Hypertext Transfer Protocol, but that is within an encrypted layer of security.
Encryption:
This means encoding information so that it can only be accessed by authorized parties.
Secure Sockets Layer (SSL):
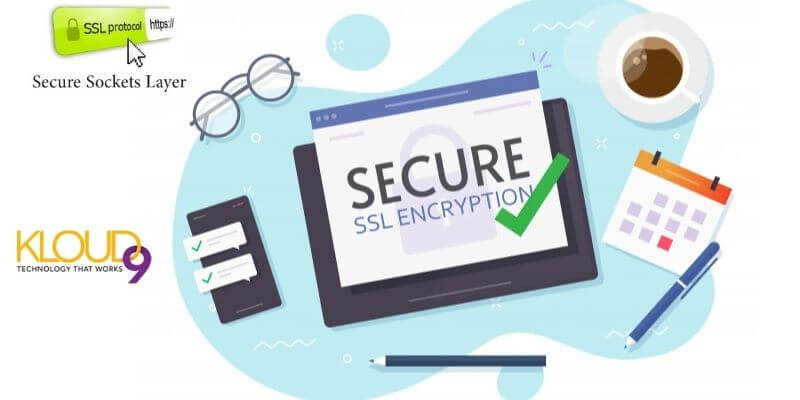
This is a technology protocol that enables the creation of encrypted communication links between browsers and servers.
SSL Certificate:
They are data files that activate the secure connection and encrypt digital information when installed on a web server.
Domain Name Servers (DNS):
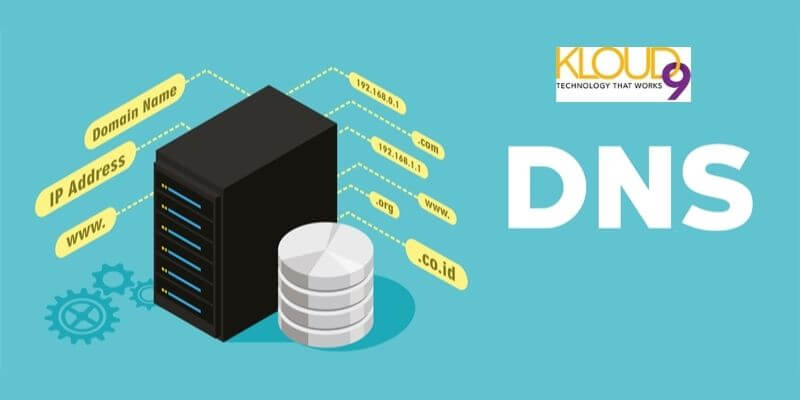
These are directories of domain names that are converted to internet protocol (IP) addresses.
What is HTTPS (Hypertext Transfer Protocol Secure)?
HTTPS is used for communication over HTTP with an ‘S’ in the end that means ‘Secure’. When you switch to HTTPS, your users enjoy three major layers of protection. These layers are:
Confidentiality
It protects the communication between two parties, barring unauthorized access from public mediums like the internet. For instance, without HTTPS, anyone running a Wi-Fi access point can access private information like credit cards when the owner of the credit card purchases something online using the access point.
Integrity
HTTPS ensures that information sent or transferred reaches its destination without being unnoticeably corrupted or modified.
Authentication
HTTPS also ensures that the website is what it claims to be. It makes the authenticity of a website known. For example, it ensures that a website that says it's “sample.com” is actually “sample.com”.
Some certificates even examine the legal identity behind a website, so that a visitor is not redirected to another website different from what is displayed.
Other Benefits of Switching to HTTPS
Some other benefits of switching to HTTPS are:
- It helps your SEO rankings.
- HTTPS offers better security.
- It allows you to benefit from integral updates like HTTP/2. To take full advantage of HTTP/2 performance benefits, you need to switch over to HTTPS because of browser support.
- Better referral data.
- HTTPS helps you build credibility and trust with your visitors.
- It increases conversion rates.
Ways to Switch from HTTP to HTTPS
Below are ways you can switch from HTTP to HTTPS.
1. Buy an SSL certificate
To commence the process of switching to HTTPS, you will need an SSL certificate. An SSL certificate is a small data file that connects a key to a particular organization's details. It activates the HTTPS protocol when it is installed, enabling secured connections between a server and the web browser.
There are several SSL certificate vendors. Some of the recommended ones are SSLs.com and GoGetSLL. It’s best you buy an SSL certificate from your hosting company directly as they will ensure it is activated and correctly installed on your server.
There are 3 basic types of certificates. They are:
Domain validation:
Subdomain or single domain, no paperwork is required (it only requires email validation). It is cheap and issued within minutes.
Organization/business validation:
Subdomain or single domain, requires business verification. This provides a higher level of trust/security and is issued within 1-3 days.
Extended validation:
Subdomain or single domain, it requires business verification. This provides a higher level of trust/security and is issued within 2-7 days. It displays a green address bar.
2. Install SSL certificate on your web hosting account
Let your hosting company do the installation of the SSL certificate. If the SSL certificate was purchased from a third party, then you will need to import it into the hosting environment. This can be a little challenging without support.
Once the SSL certificate has been installed, you’ll need to check to observe if there are any problems with it. There are tools online that can help you with this. Examples of such tools are SSL Labs Server Test and Certificate Checker.
3. Check and confirm that internal linking has switched to HTTPS
Before you go live with the conversion, you need to confirm that every internal website link has the correct HTTPS URL. If you go live with links that combine HTTP and HTTPS, your readers will get confused.
Going live with mixed links also impacts SEO, and it makes some page features not load properly.
4. Establish 301 diverts so that search engines are notified
With a CMS plugin, all server traffic can be automatically redirected to the new secure HTTPS protocol. Websites that do not make use of a CMS will have to be manually updated.
301 redirects notify search engines that there is a change to your site and that your site needs to be indexed under the new protocol.
Visitors or users who had bookmarked your website when it was under the unsecured protocol will be automatically routed to the new secure URL.
Conclusion
There are numerous benefits of using HTTPS, and some of these benefits are listed in this guide. To switch from HTTP to HTTPS is not very easy, but if you follow the steps discussed above, you’ll have little to no problem with it.


You must be logged in to post a comment.